
Appearance Settings - Legend
Every event you add to a timeline gets a color. You can keep that default or change it to something that carries meaning. On a project timeline, for example, you might give completed events one color and events that are delayed or at risk another, like yellow or red.
To help viewers understand what each color means, you can add a legend to your timeline.
Add a Legend
To add a legend, follow these steps:
Click the Appearance button.
Select Legend.
Add a description for one or more of the colors. The list holds every color your events use, and descriptions can be up to 40 characters. Colors you leave blank stay out of the legend, and you can drag a color up or down to change its place in the legend.
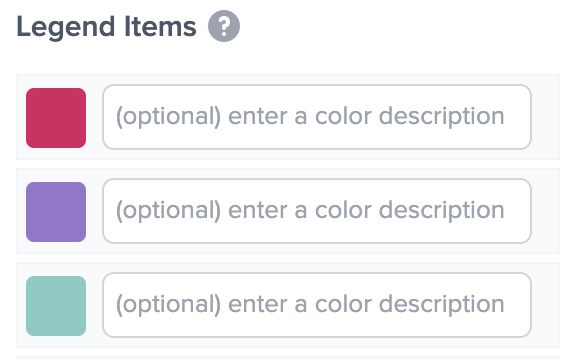
Make sure the Display legend option is checked. Until you have saved a description it is checked for you, and after that it stays the way you last saved it. The legend then appears at the bottom of your timeline, and it is included when you export the timeline as a PDF, an image or a PowerPoint file.

Click Save Changes.
The legend only lists colors that appear on the timeline as it is currently displayed. If you hide a layer, search for events, or zoom into part of the timeline, a color that no longer appears on any event in view drops out of the legend until it does.
Hide or Remove a Legend
Click the Appearance button.
Select Legend.
Uncheck the Display legend option.
Click Save Changes.
This hides the legend but keeps your descriptions, so you can bring it back later by checking the option again. To remove the legend for good, also delete the descriptions before you click Save Changes.